In Outlook, how do I add KnowledgeLake and then upload documents?
Install the KnowledgeLake Cloud add-in and then begin uploading documents by following the steps below.
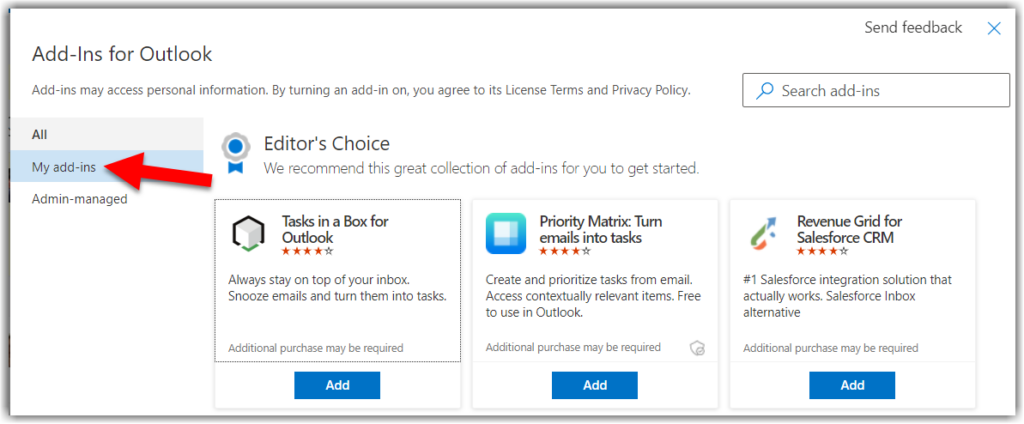
- In your default browser, go to the OWA (Office Web App) Add-Ins for Outlook.
- Select My add-ins in the left menu.
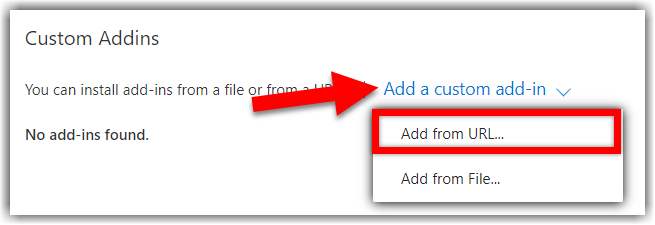
- Scroll down to the Custom Addins section, select the + Add a custom add-in drop-down menu and then Add from URL…
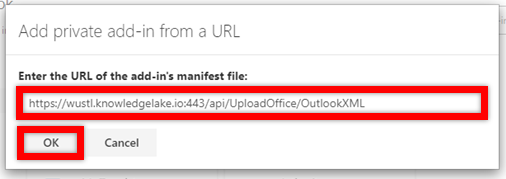
- Enter the following URL in the pop-up window and then select OK.
- https://wustl.knowledgelake.io.443/api/UploadOffice/OutlookXML
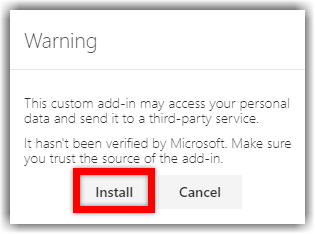
- Select Install on the pop-up window.
- Close your browser window and restart Outlook.
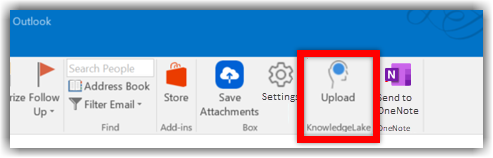
- When Outlook reopens, you will see a KnowledgeLake Upload button in your toolbar ribbon.
Using KnowledgeLake Upload in Outlook
- The first time that you select the Upload button a panel will open on the right side of Outlook and a login pop-up window will appear.
- Select Azure AD from the User Catalog drop-down menu and then Sign In on the login pop-up window.

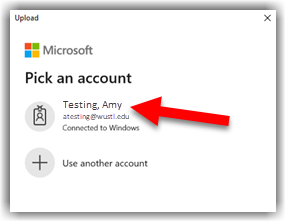
- Select your WUSLT account on the pop-up window.
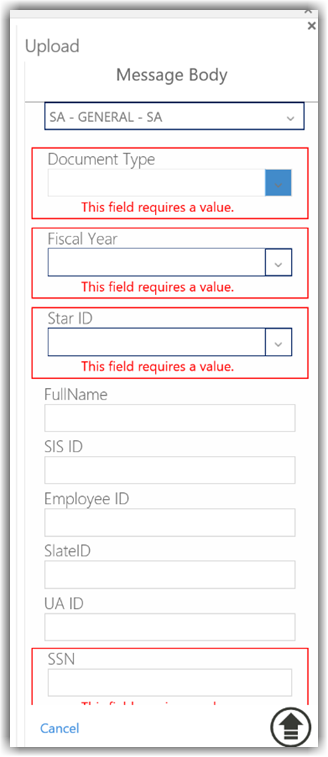
- The panel in Outlook will refresh and show you the index panel where you can either begin indexing your email or attachments or choose a different content type from the drop-down (if applicable to your department).
KnowledgeLake FAQs
Showing: All results

How do I upload digital documents?
There are two methods to upload digital documents, as outlined in the Uploading Documents section of the Knowledge Lake Help Portal.
In Outlook, how do I add KnowledgeLake and then upload documents?
Install the KnowledgeLake Cloud add-in and then begin uploading documents by following these steps.
Is our data secure with KnowledgeLake?
Yes. KnowledgeLake undergoes an annual 3rd Party System and Organization Controls (SOC) 2 Audit to ensure that they have measures in place to protect the data of its customers. All connections to KnowledgeLake are encrypted.